Getting Started
We recommend using PyCharm and Miniconda when working with the CITYhub Python package with Windows 11. This guide will walkthrough a recommend set of steps to start using the CITYhub:
Installing PyCharm
Note
If you have a university email address, you may be eligible to use PyCharm Professional through the JETBRAINS Student Pack
Run the installer
Click Next
Click Next
Click Next

Click Install
Click Finish
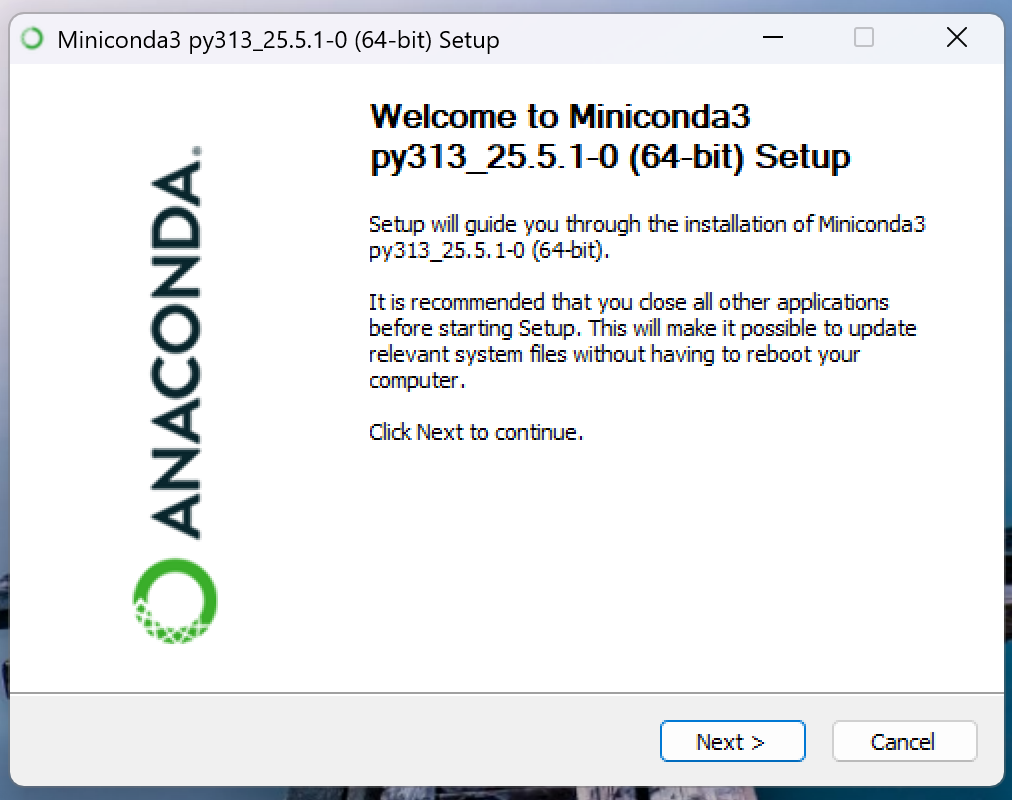
Installing MiniConda
Run the installer
Click Next
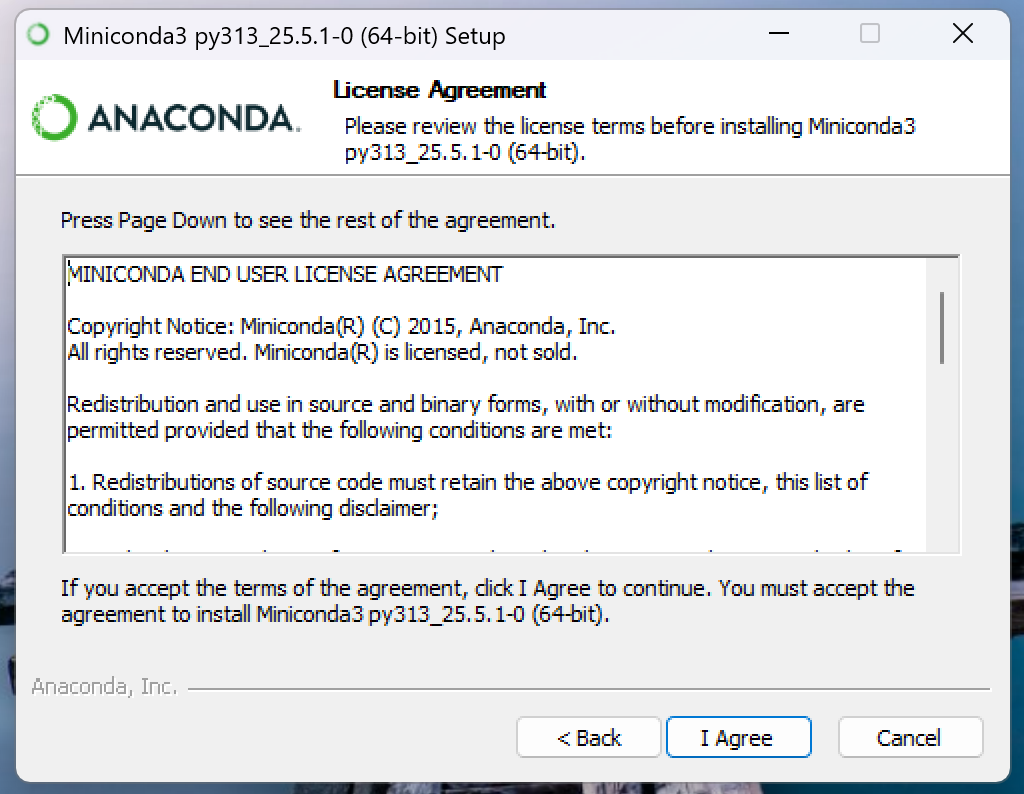
Click I Agree
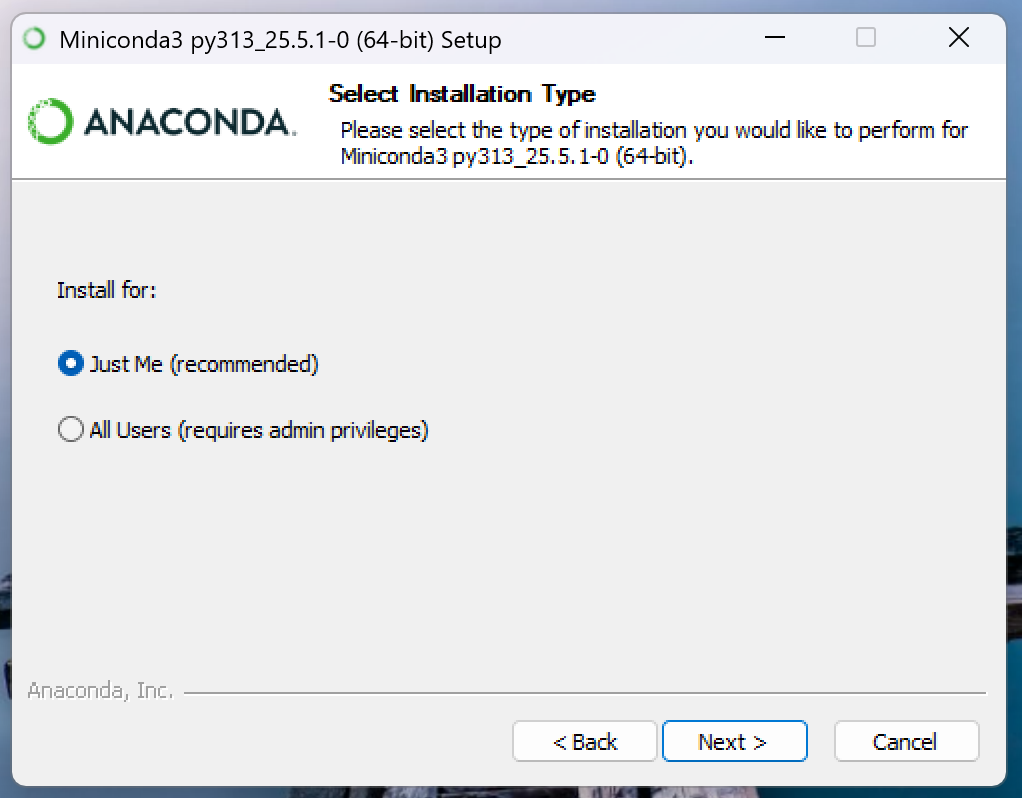
Click Next
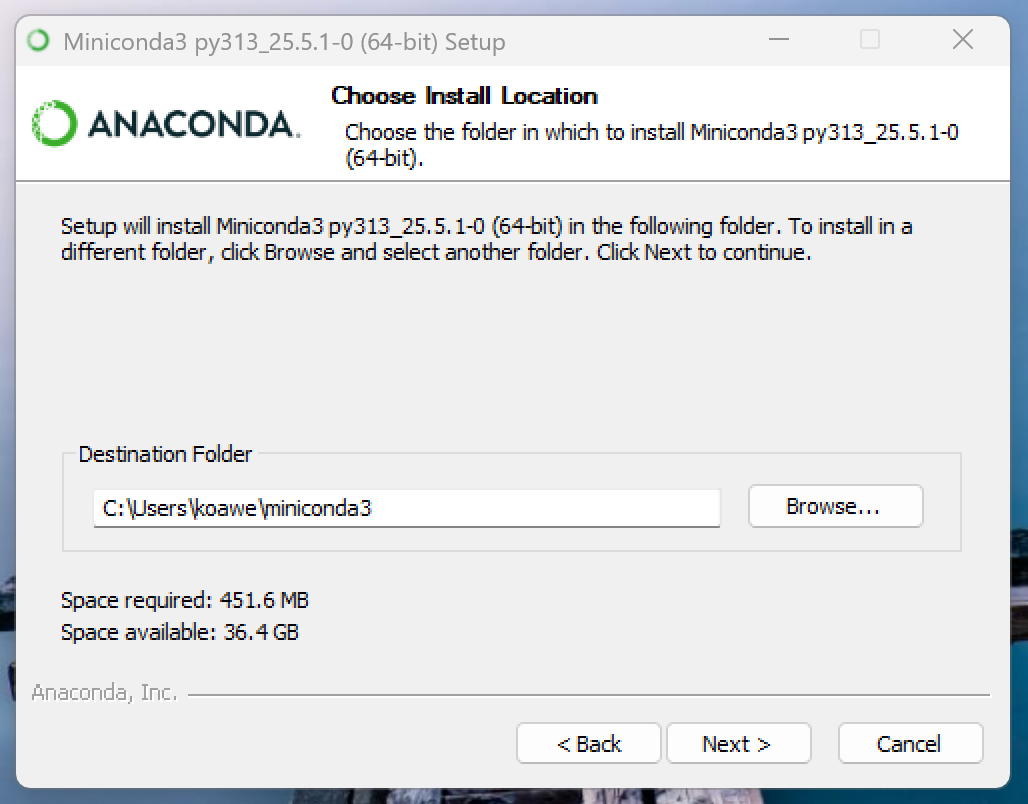
Click Next
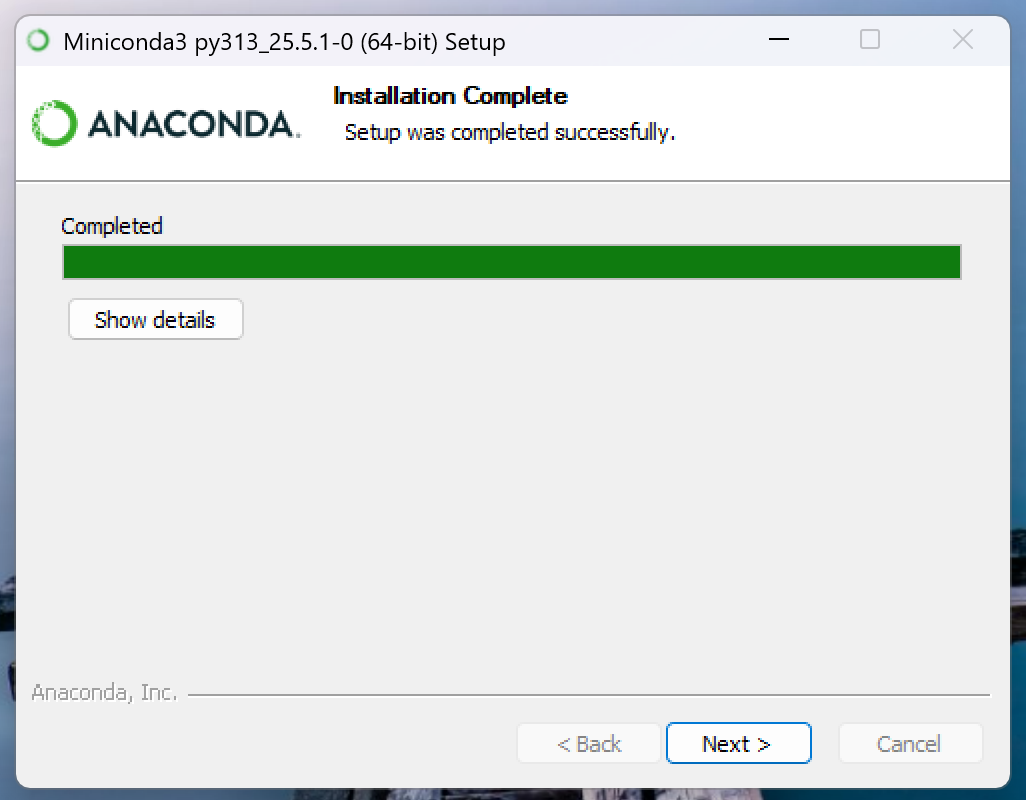
Click Install
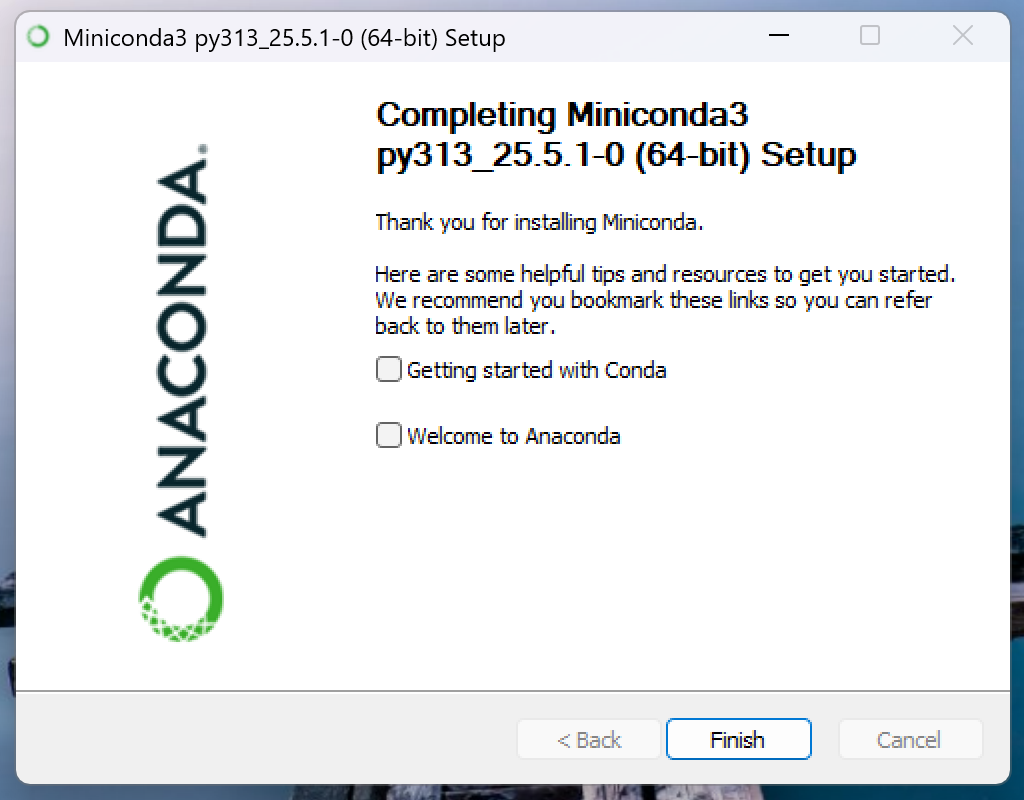
Click Next
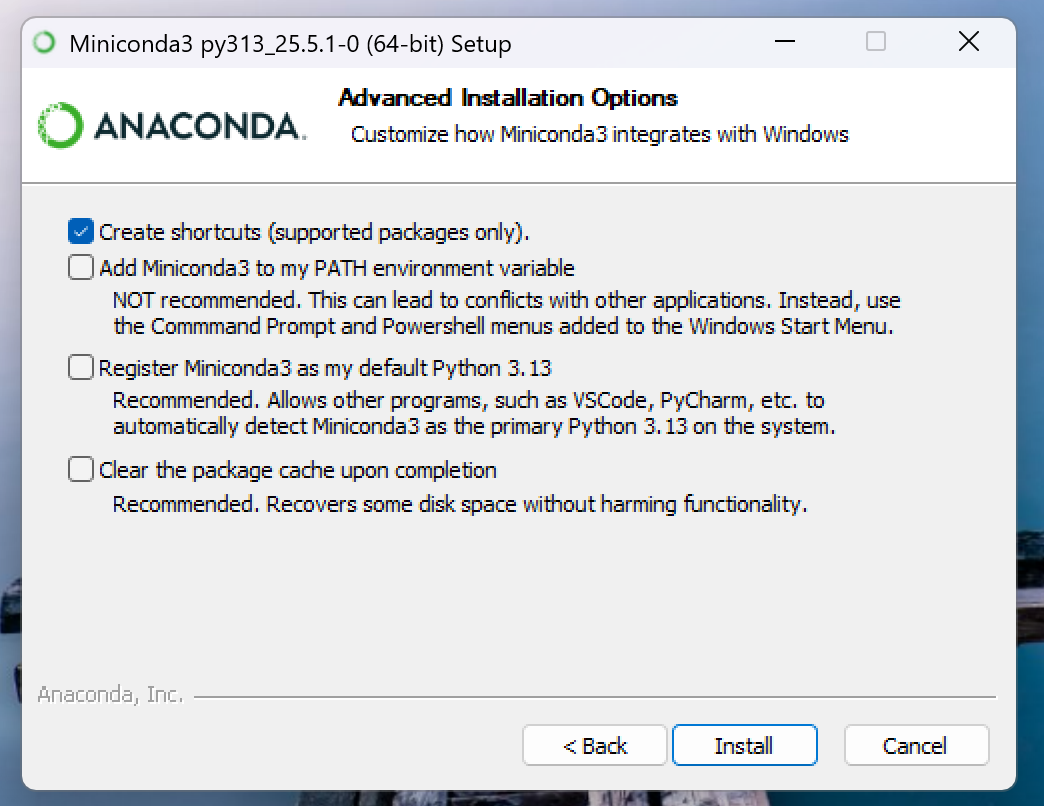
Uncheck the two options and click Finish
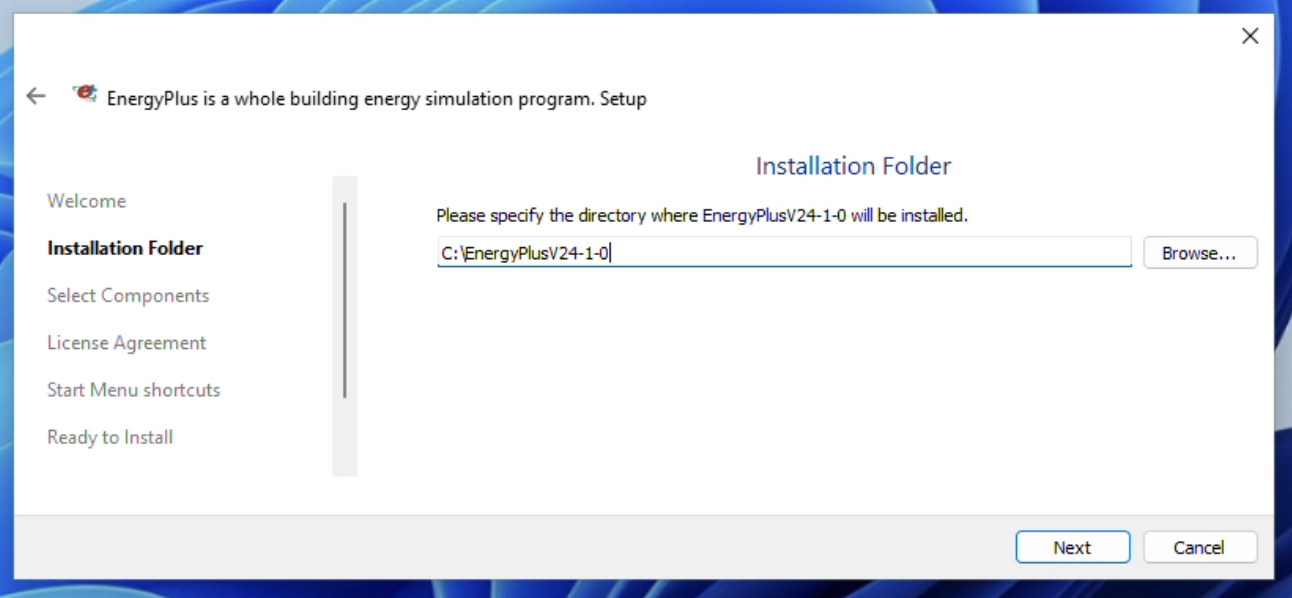
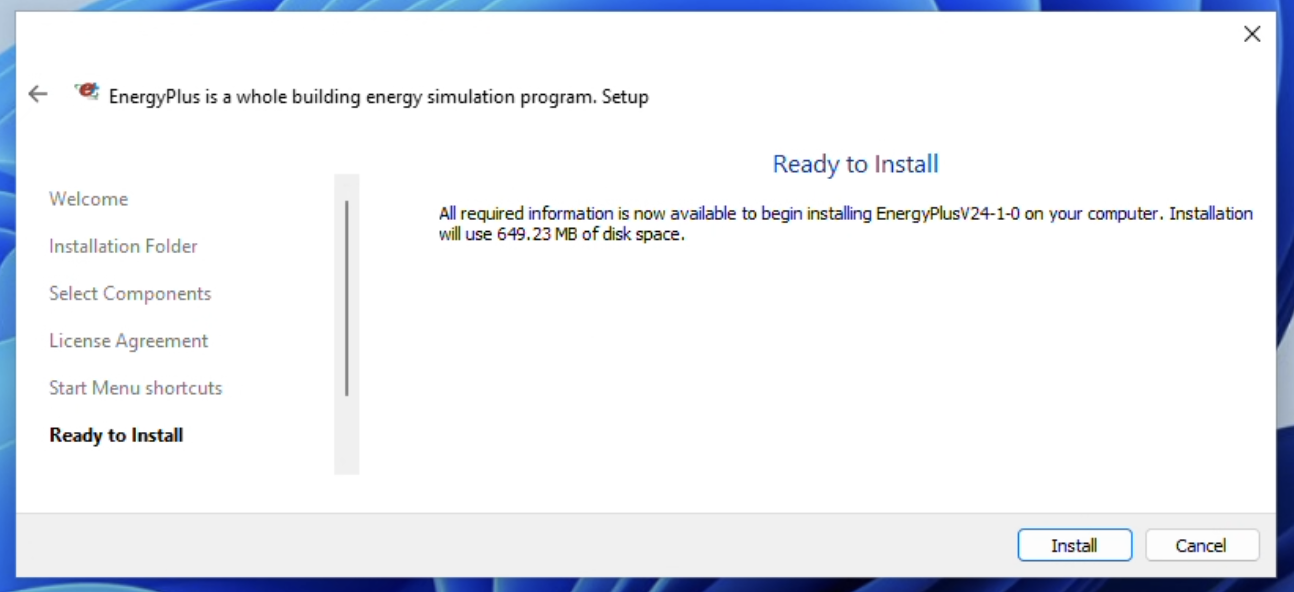
Installing EnergyPlus v24.1.0
Note
For Windows 11, you should select the EnergyPlus-24.1.0-XXXXXXXXXX-Windows-x86_64.exe installer
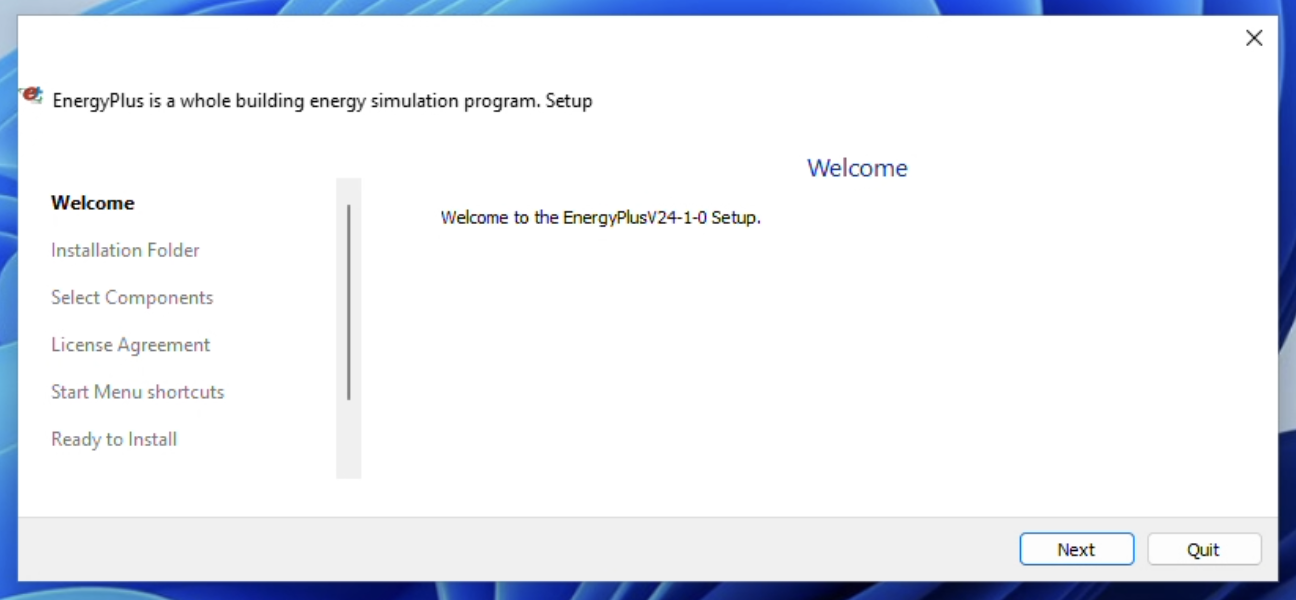
Run the installer
Click Next to start the installation process
Click Next to accept the default installation path
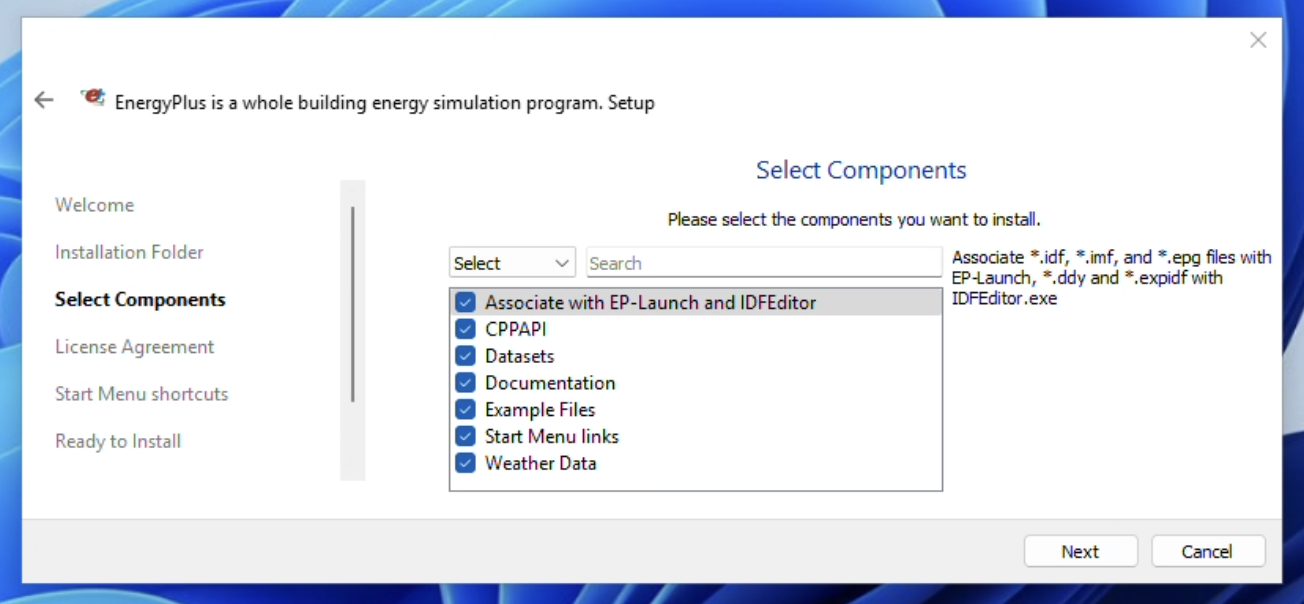
Click Next to install all default components
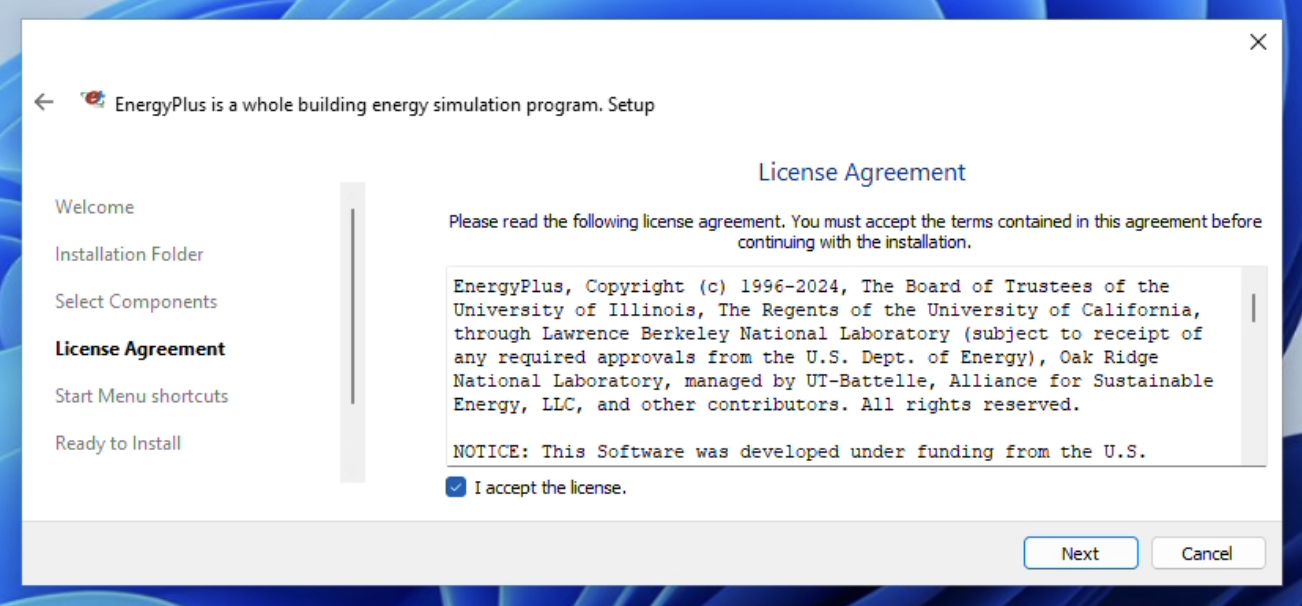
Check the box to accept the license agreement and click Next
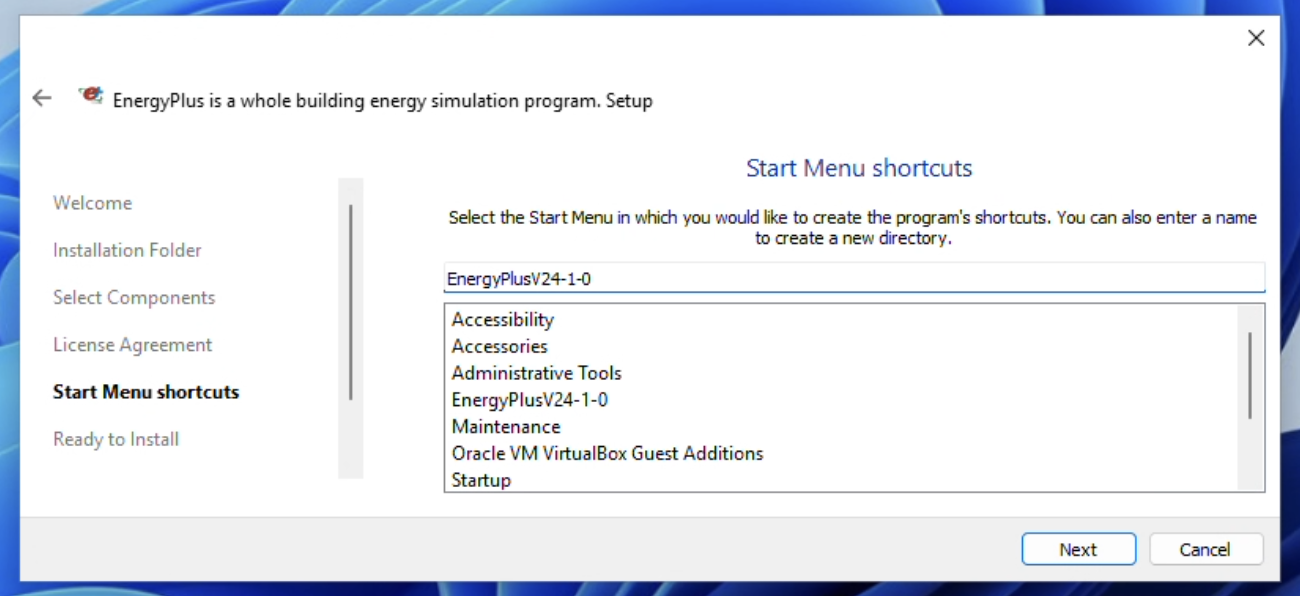
Click Next to accept the default location for the EnergyPlus shortcut
Click Install to install EnergyPlus
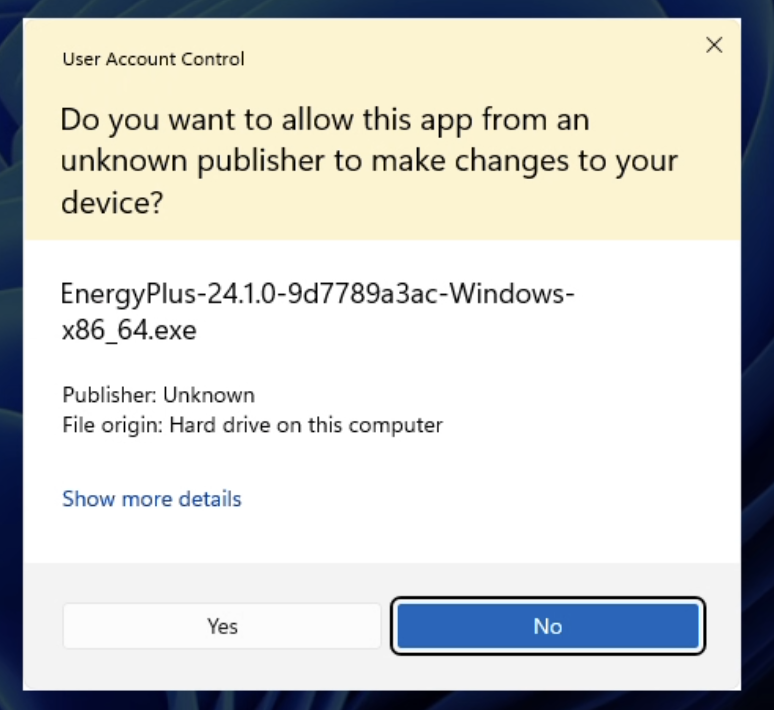
Click Yes to give the installer permission to run
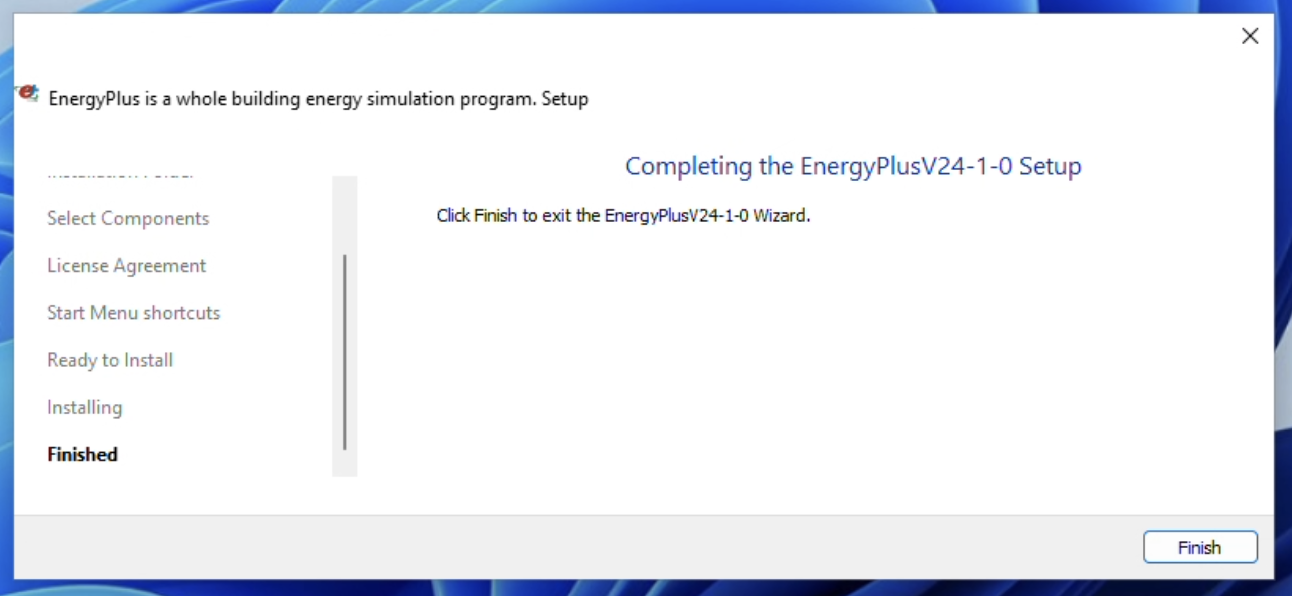
Click Finish to close the installer
Creating Project in PyCharm
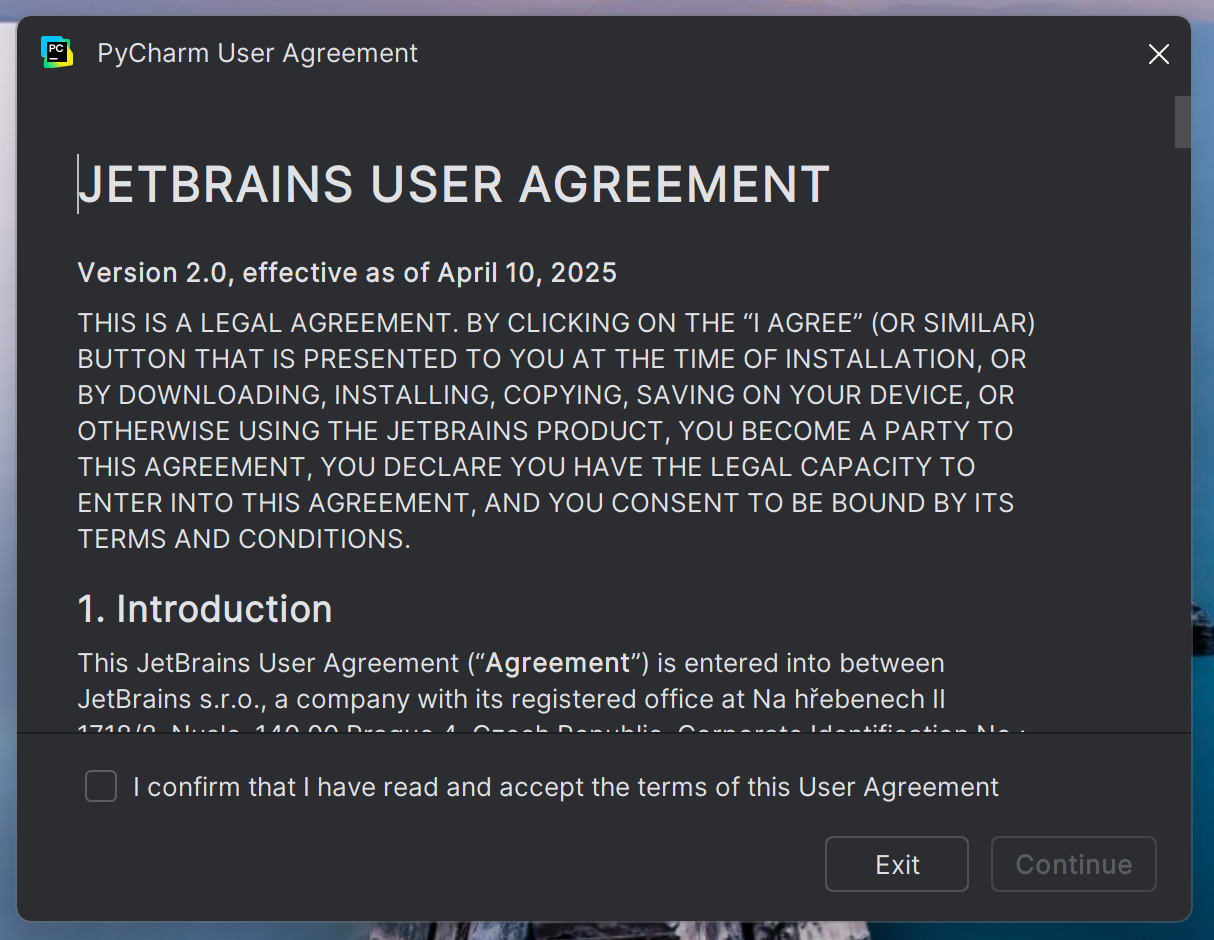
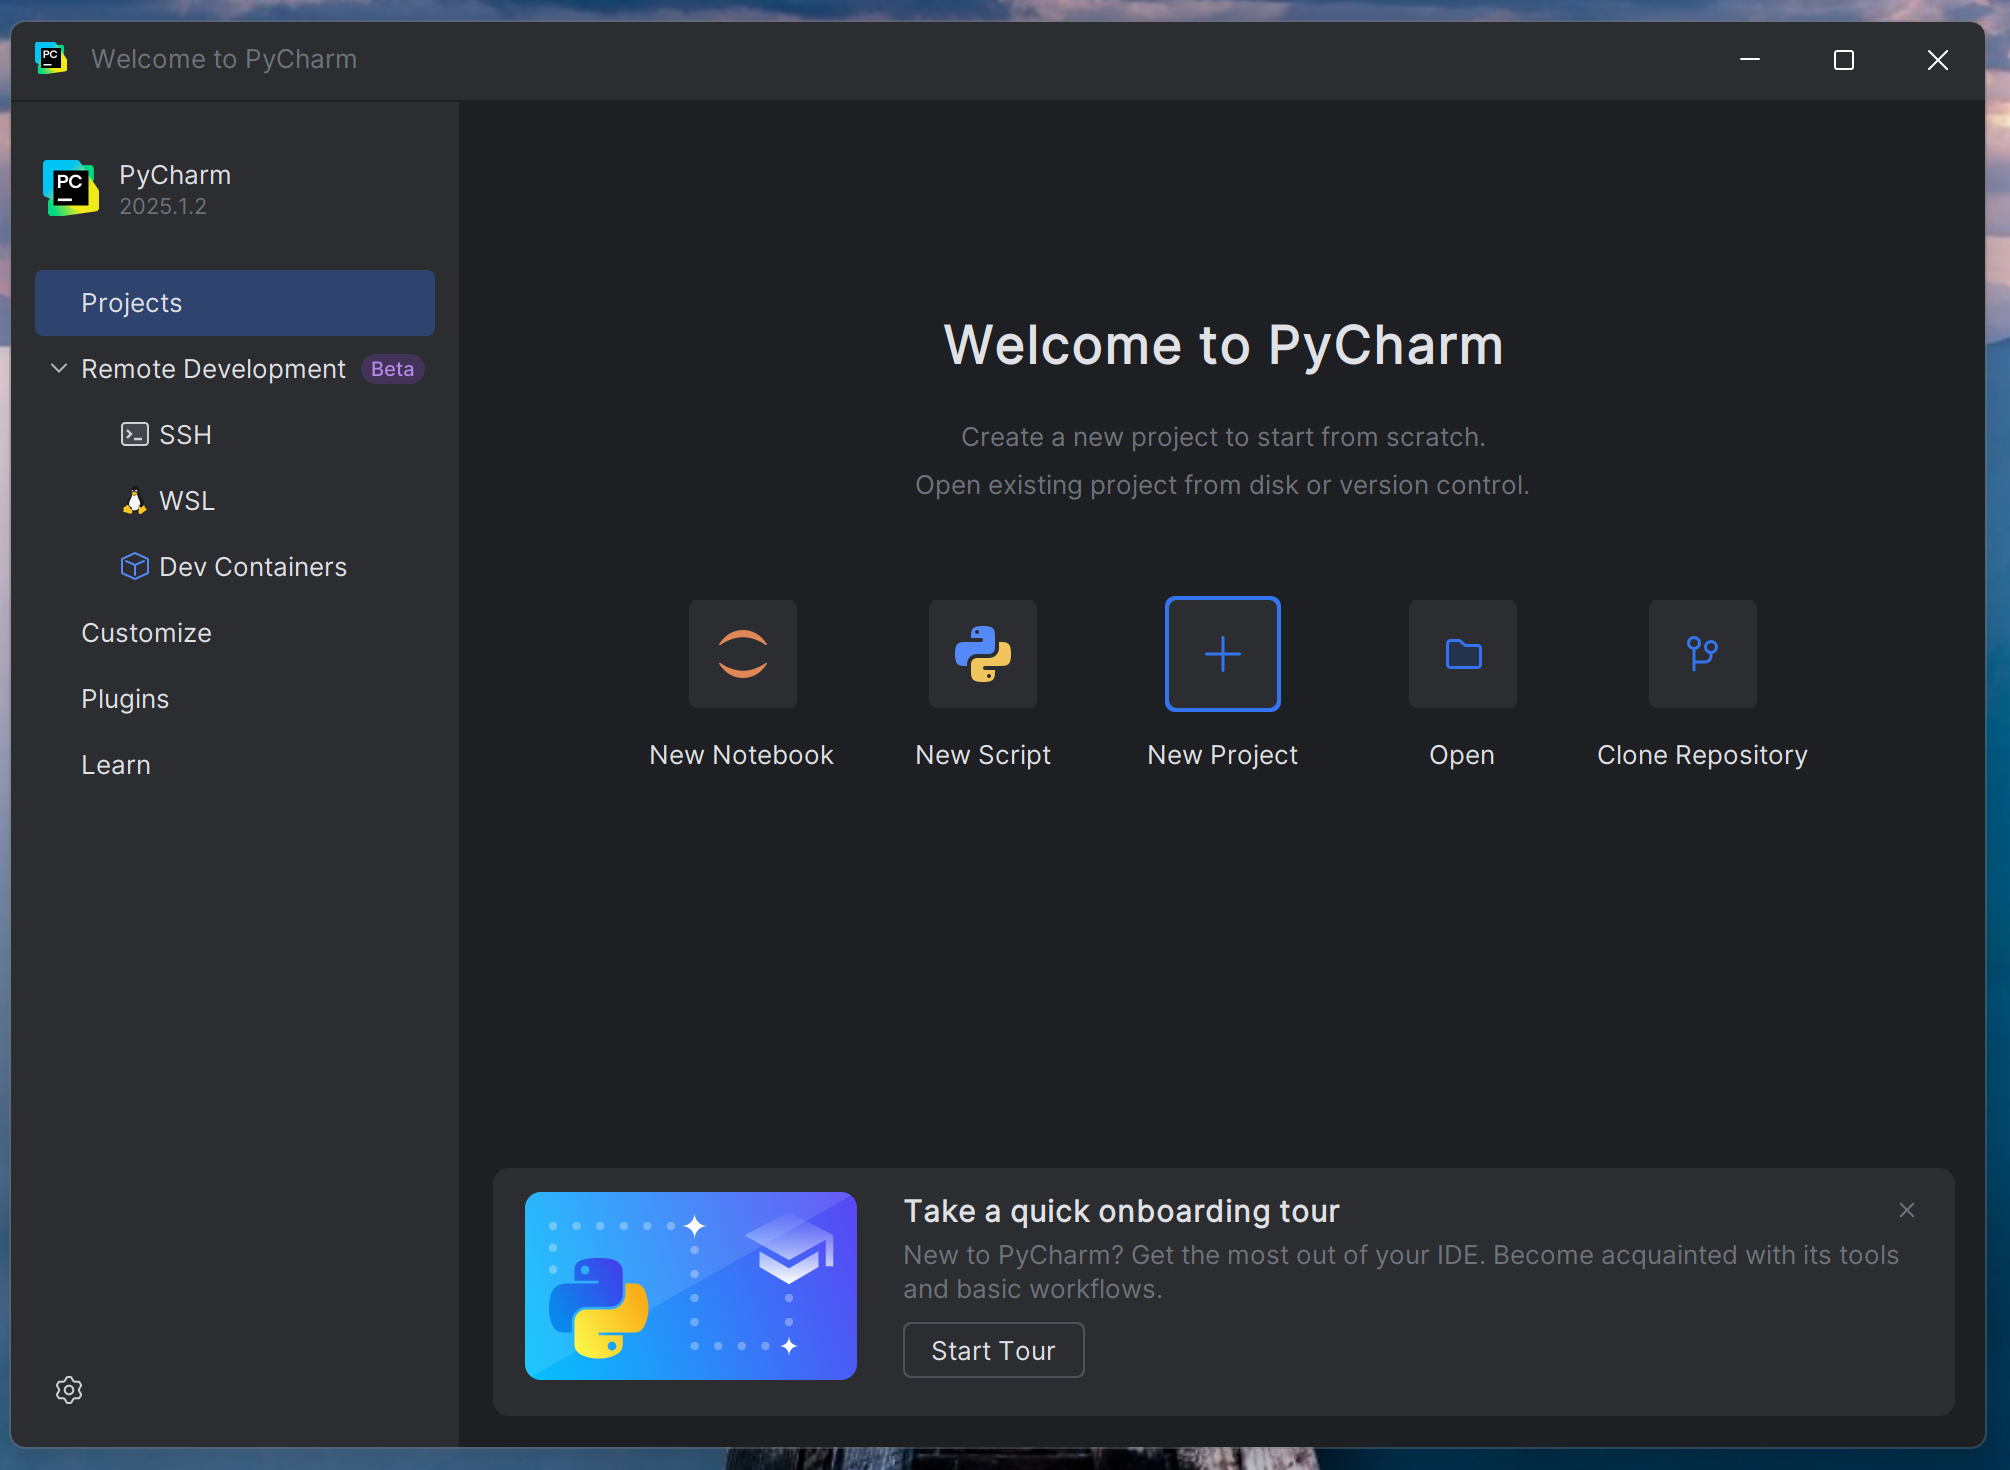
Open PyCharm
Check the box and click Continue
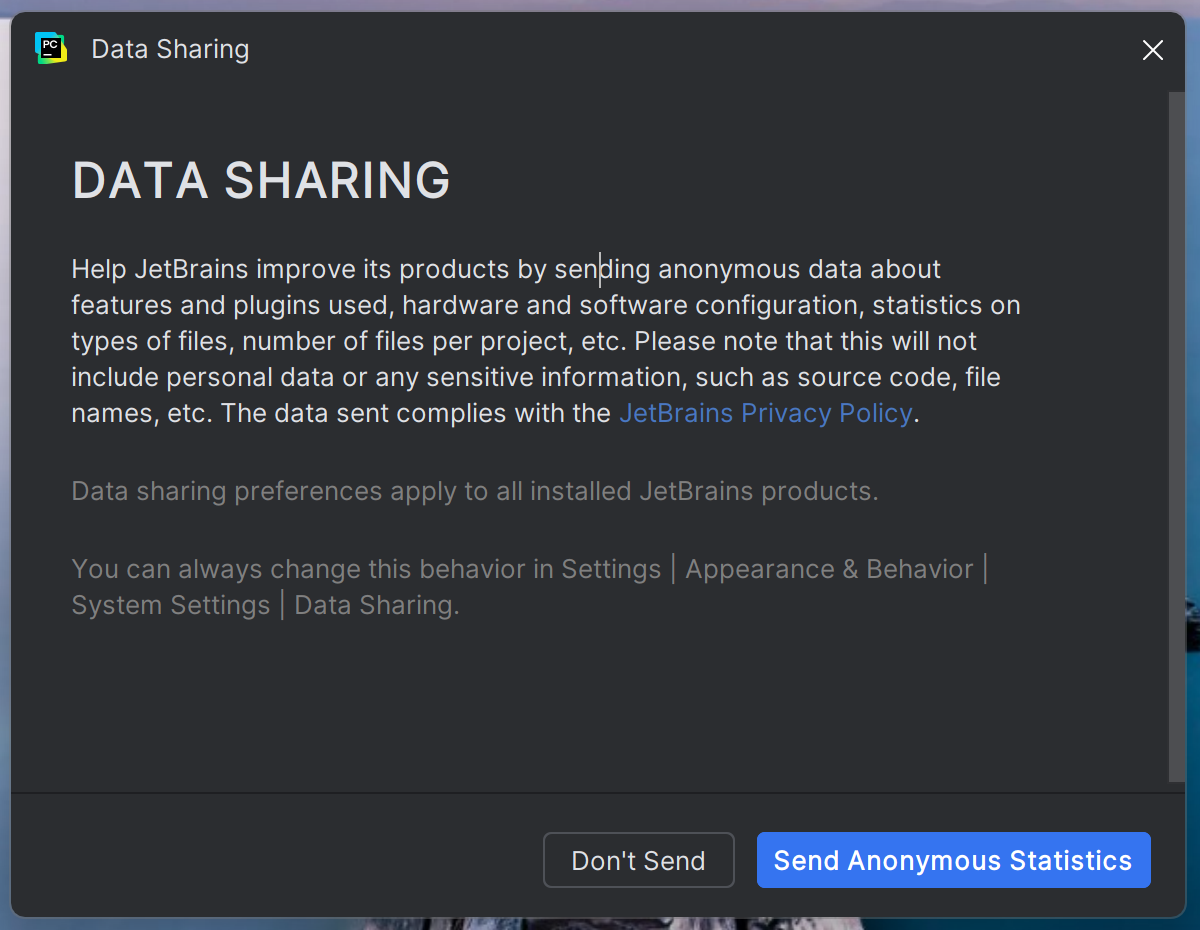
Click Don’t Send
Click Allow to give PyCharm access to the network

Click the New Project button
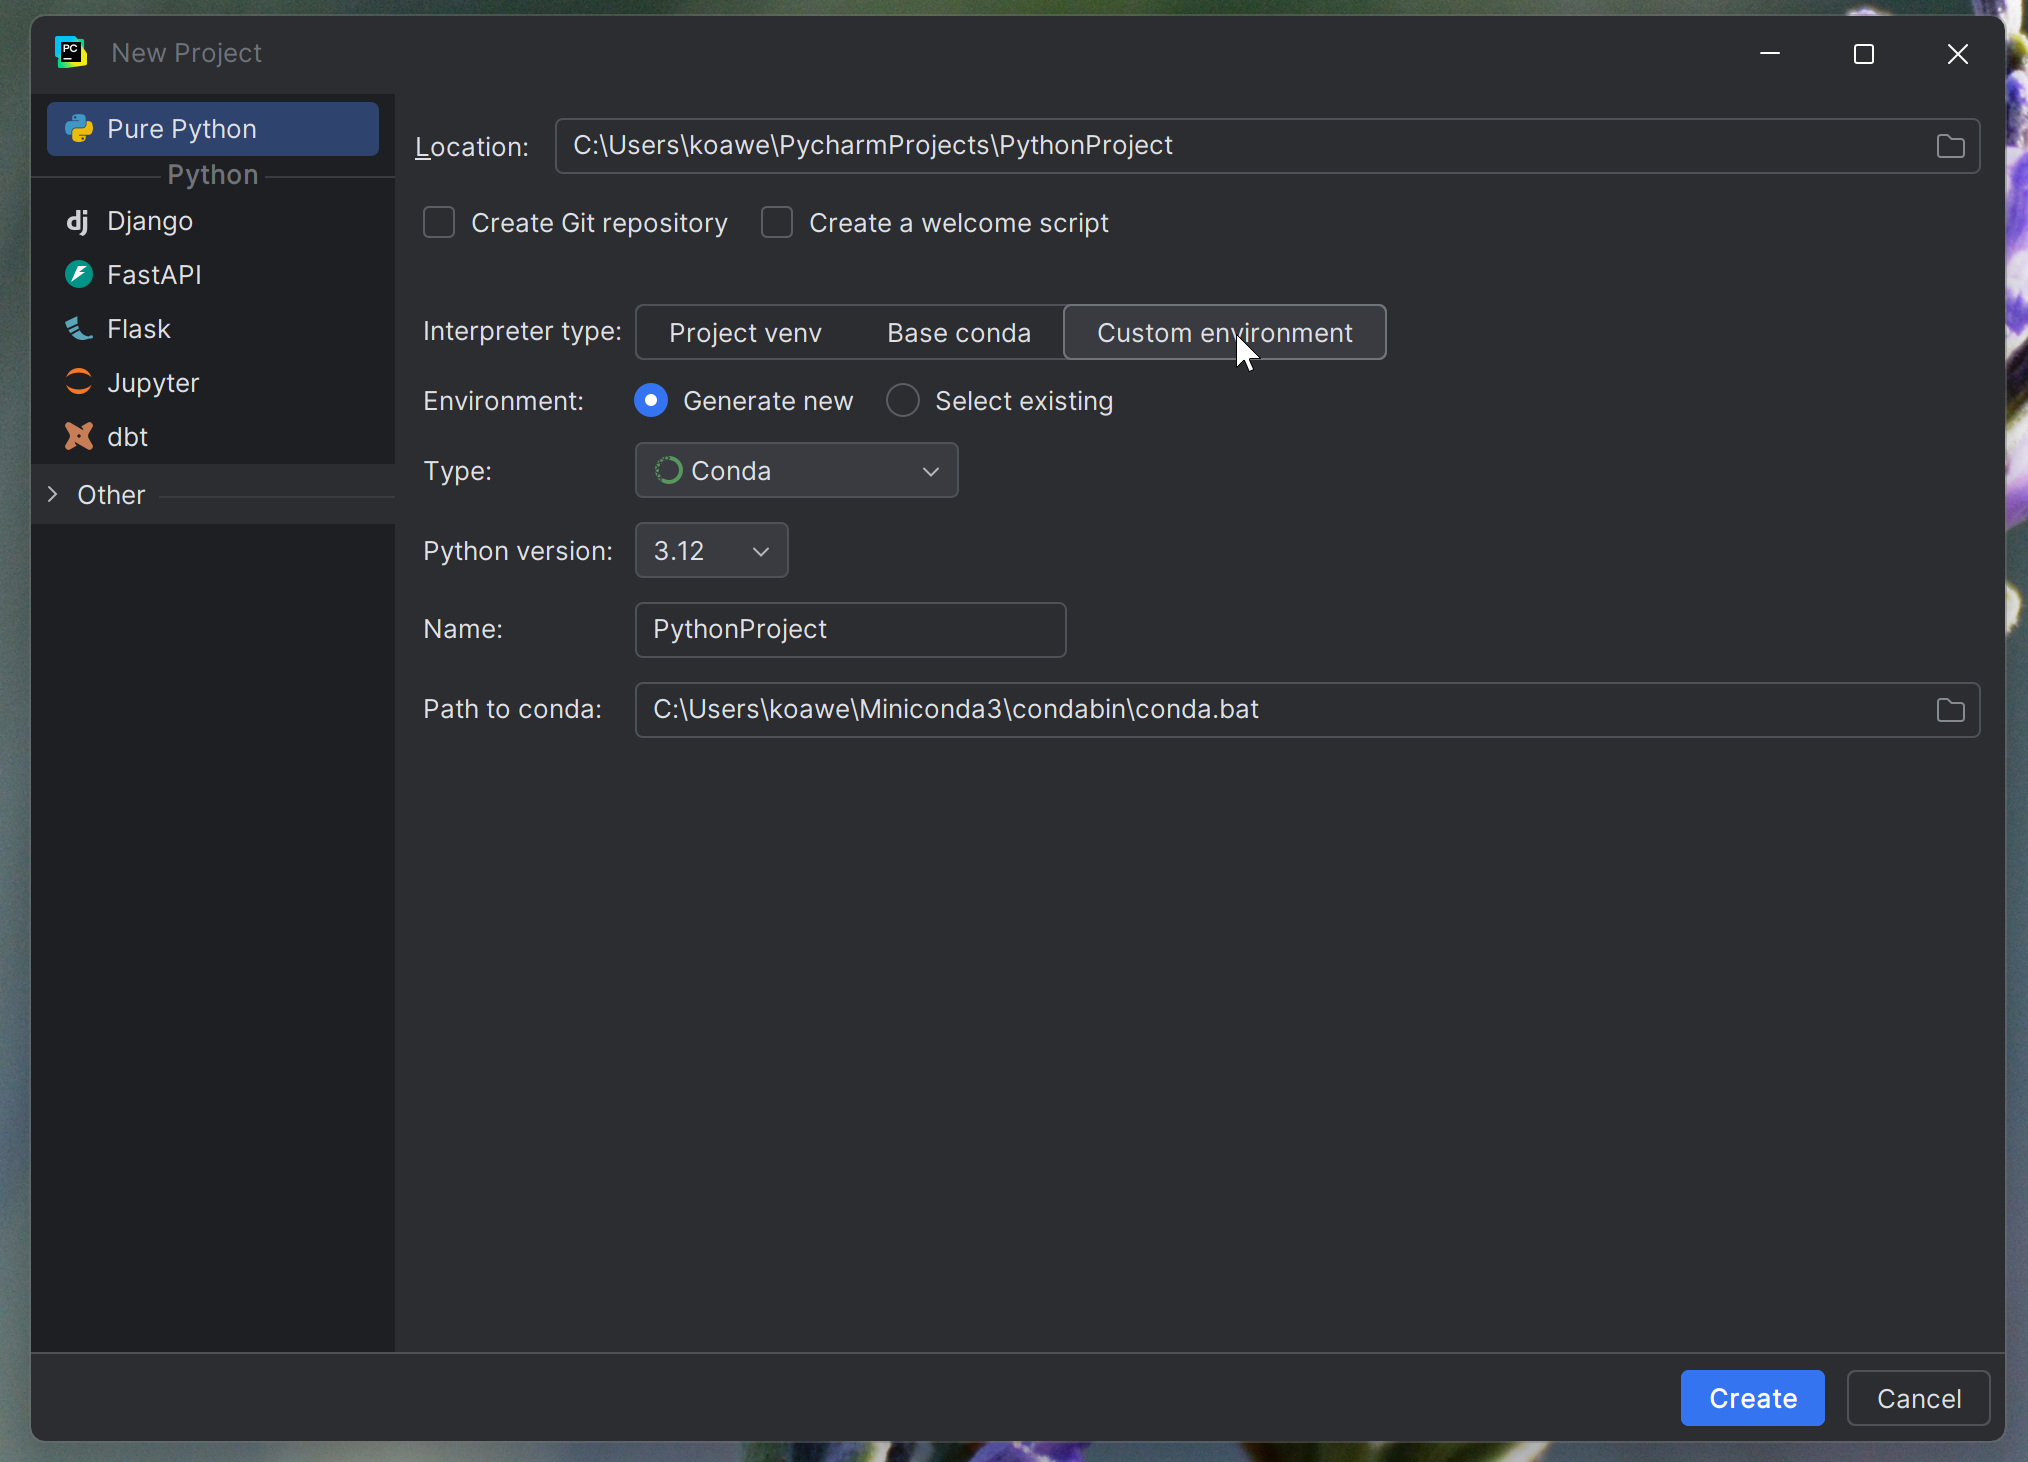
Select Custom environment. Choose the following options to create a virtual environment with MiniConda
It is generally recommended that the virtual environment matches the name of the project. In this example, the project and the virtual environment are called PythonProject
For Type select Conda
Select Python 3.12
Click Create to create the project.
Note
The CITYhub has been tested for Python versions 3.9 - 3.12. If you are unsure which version to select, we recommend Python 3.12.
Note
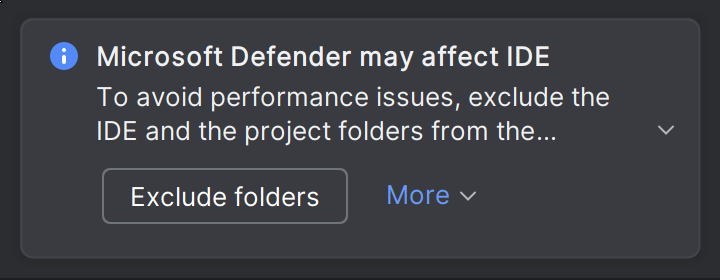
If you receive a warning about Microsoft Defender, you can press Exclude folders to prevent Windows Defender from causing performance issues or false virus detections.
Now that your project has been created, here are a few useful things to note about PyCharm
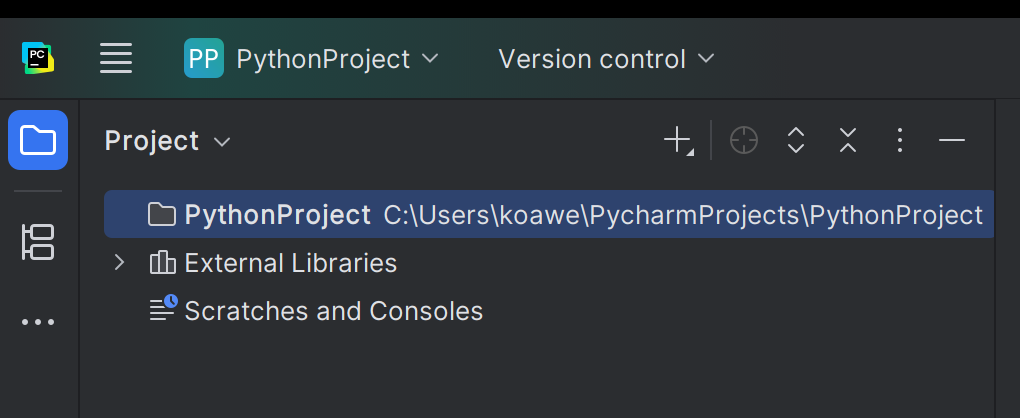
In the top left you can find the name and the folder structure of the project
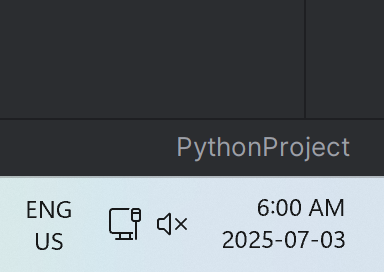
In the bottom right you can find the name of the Miniconda virtual environment for the project
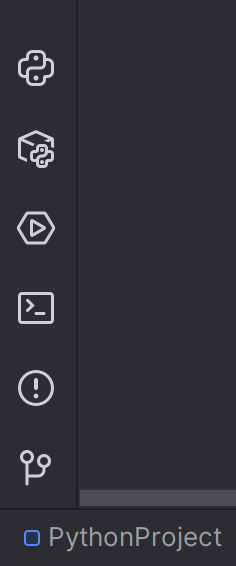
In the bottom left you can find a handy toolbar full of tools
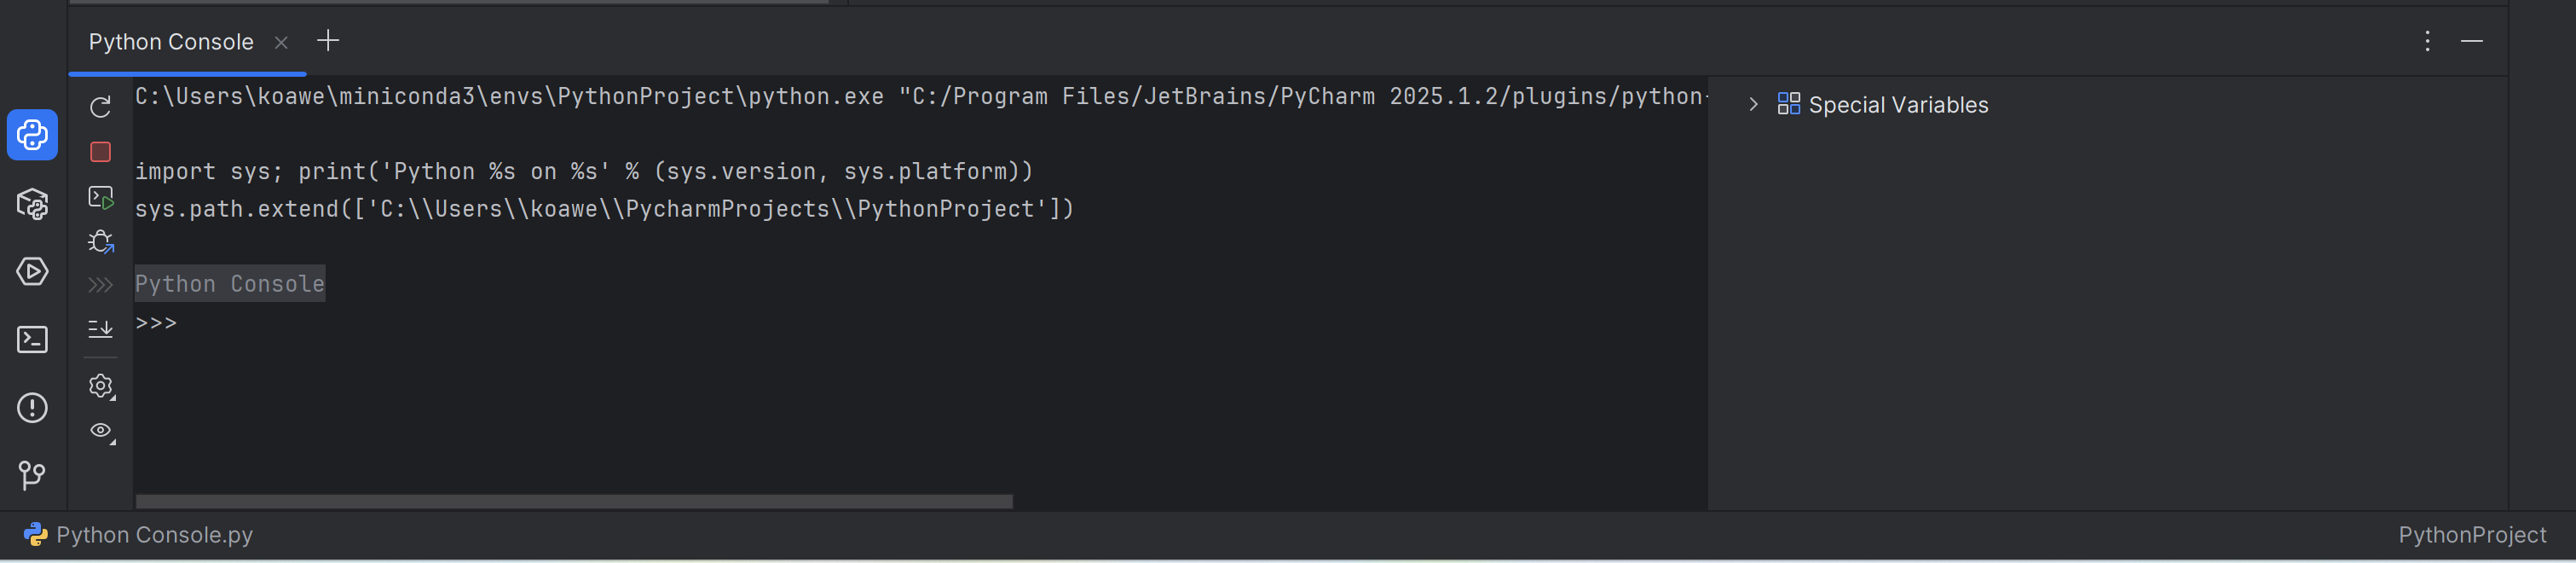
Python Console can be used to see the output of your code. Print statements and errors while running code will show up here
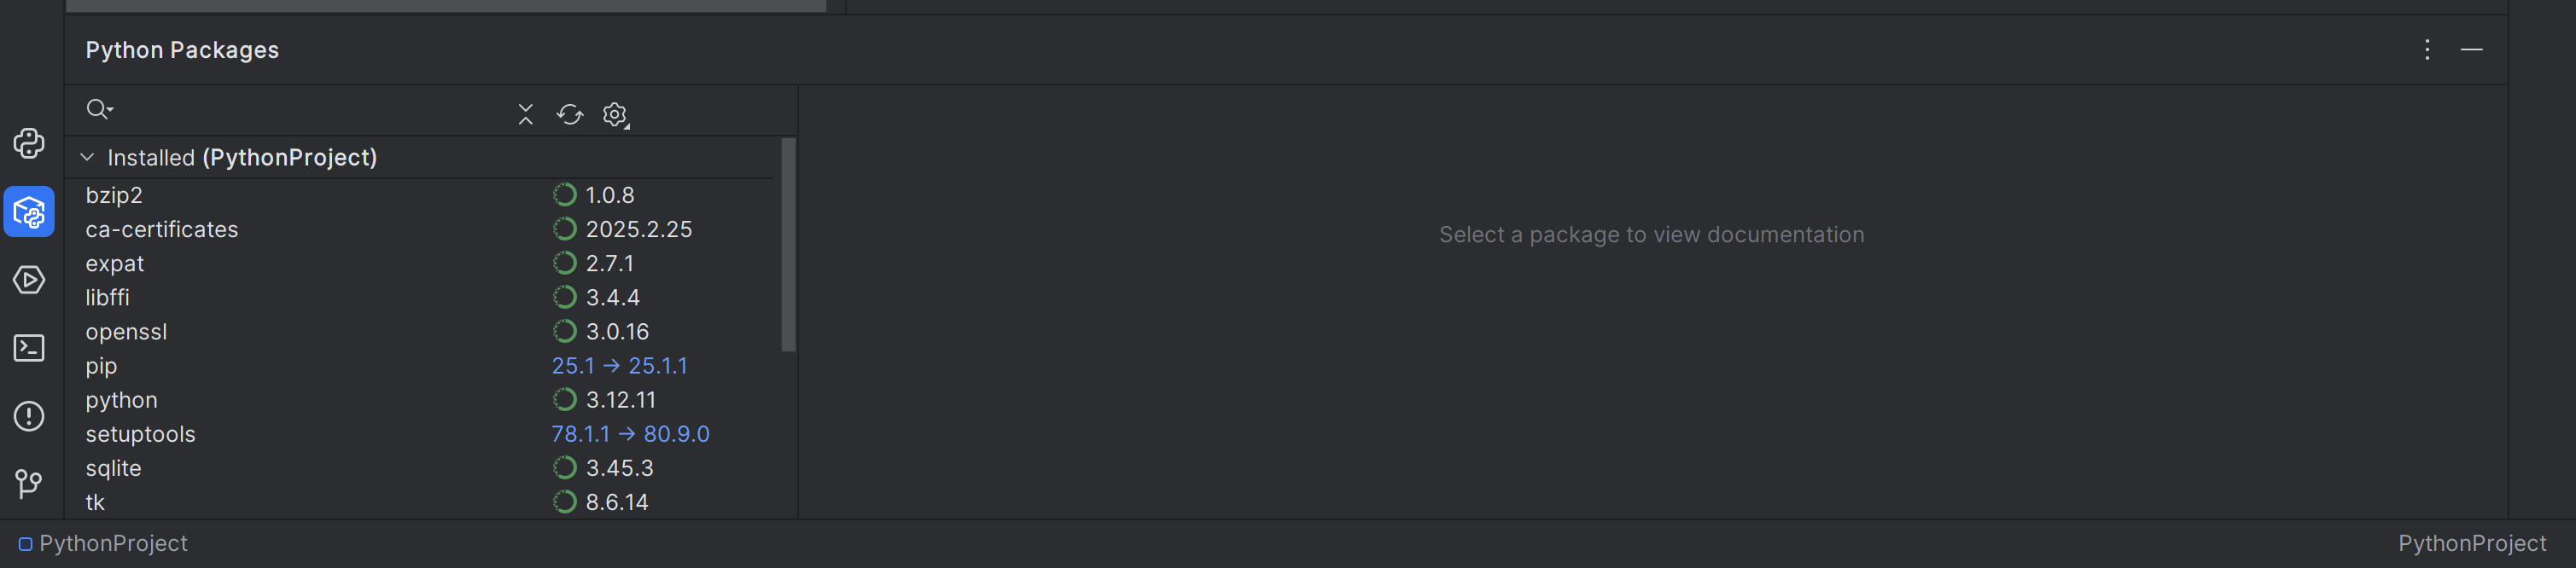
Python Packages can be used to manage the packages installed inside the Miniconda virtual environment
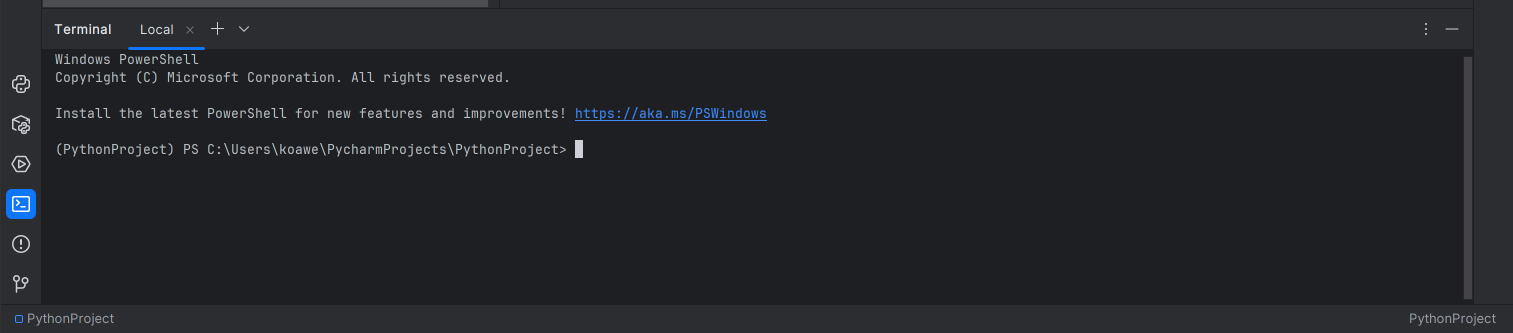
Terminal, which uses PowerShell by default, can be used to run git commands if you are working with a Github/Gitea repository. It can also be used to manage packages inside of the Miniconda virtual environment. The terminal is recommended for more advanced users.
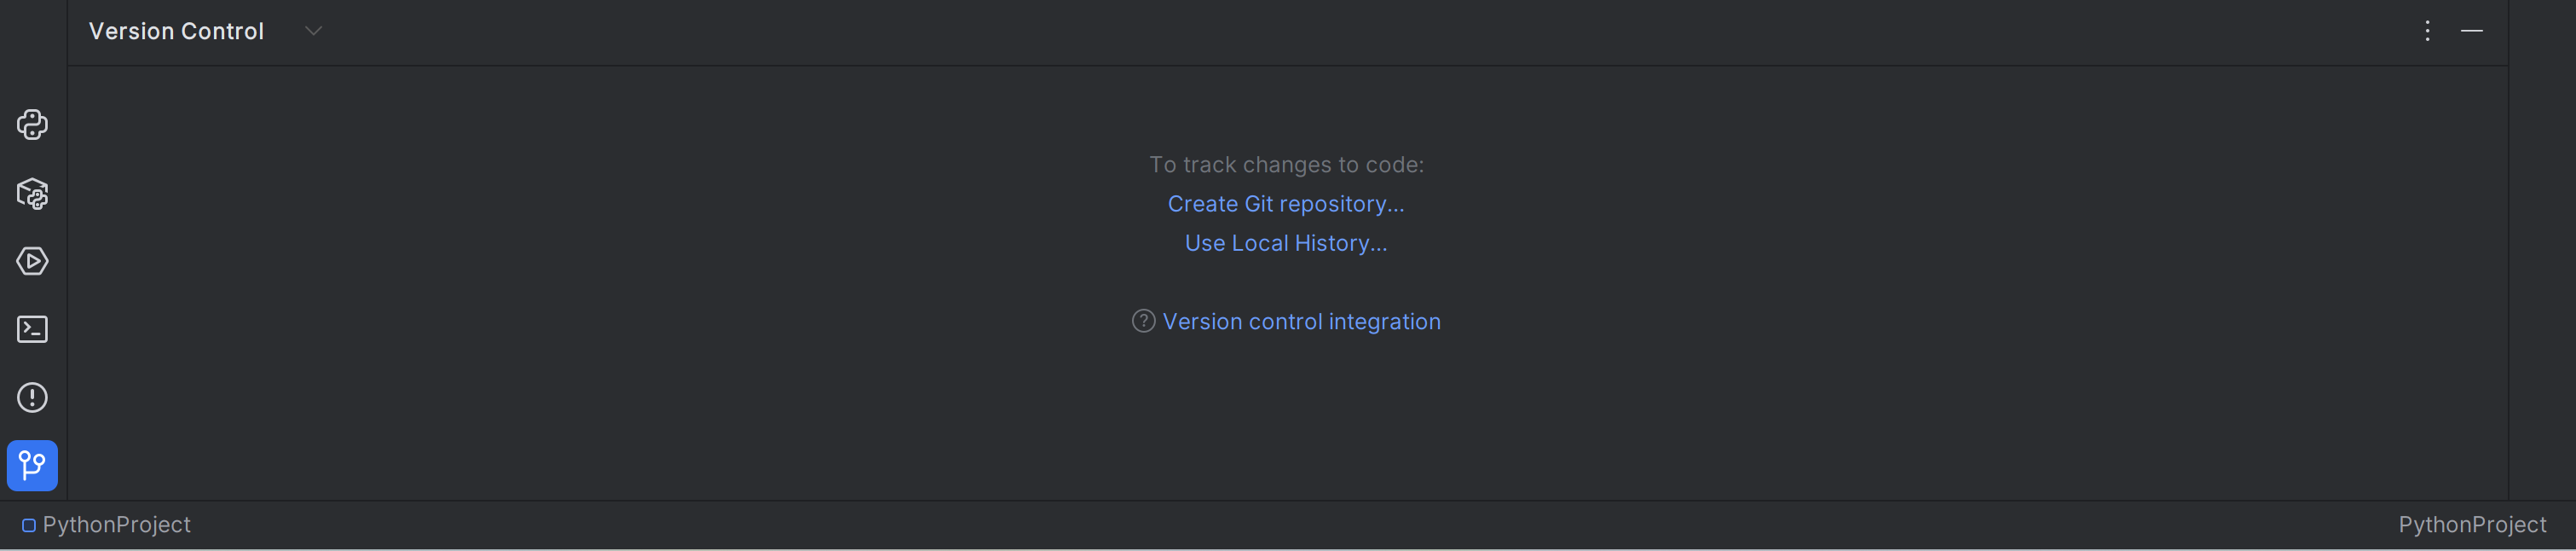
Version Control is used to work with git repositories from GitHub or Gitea. For a quick understanding on how git and version control work, checkout [this short video by ByteByteGo](https://www.youtube.com/watch?v=e9lnsKot_SQ)
To install the CITYhub Python package, open Python Packages and search cerc-hub. Select the first cerc-hub in the list and press Install
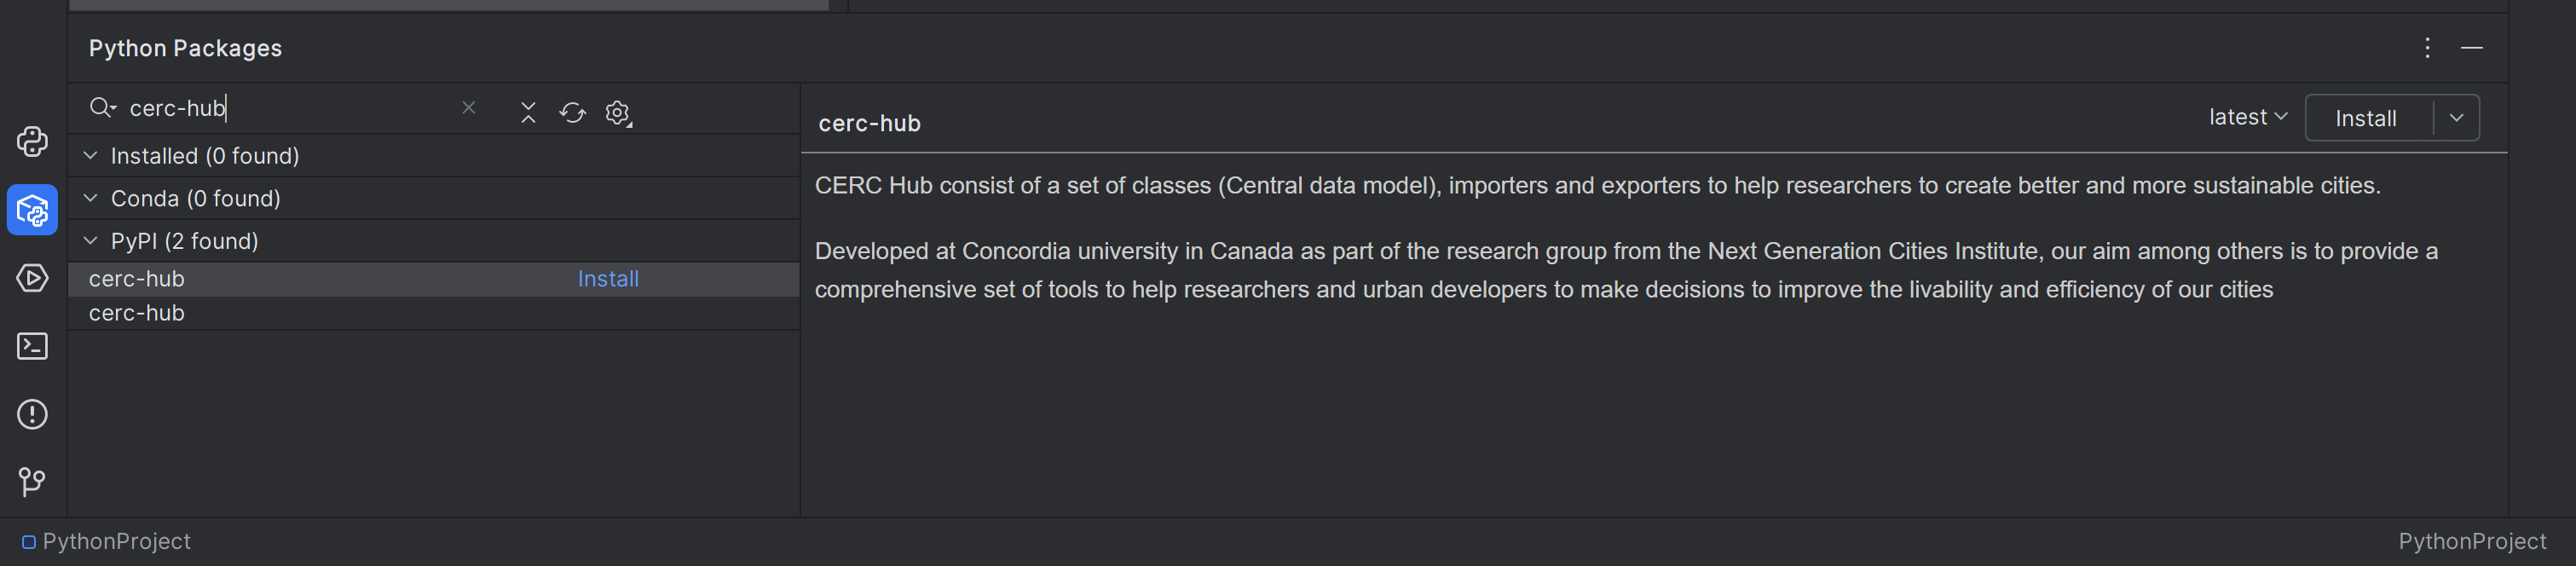
You have now created the project and installed the cerc-hub Python package.